
Bring Your Own SSH Keys
Use your own SSH key instead of the GPUnet Cloud managed key to access instances.
Intro
By default, GPUnet Cloud generates one SSH key per account for provisioning instances, and every instance you create can be accessed with this GPUnet Cloud managed SSH key. To use your own key instead, add it on the SSH Keys page.
Adding a New SSH Key
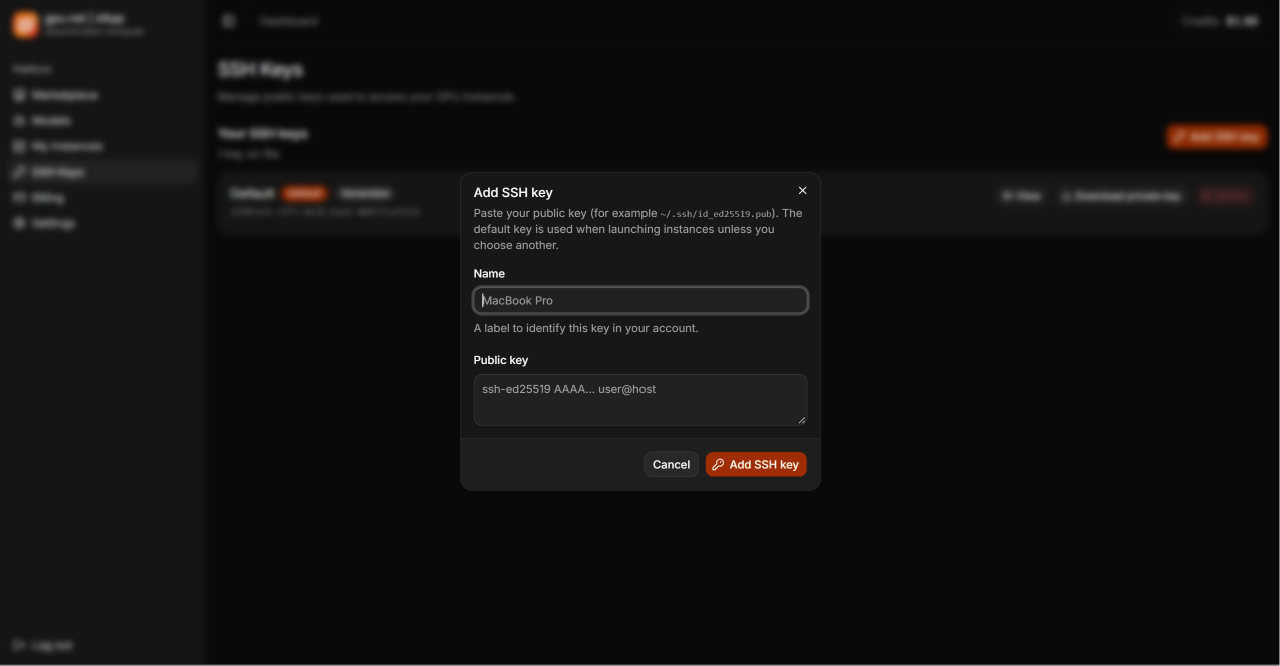
1. Open the Add SSH key form
In the dashboard, go to SSH Keys and click Add SSH key.
2. Name the key and paste your public key
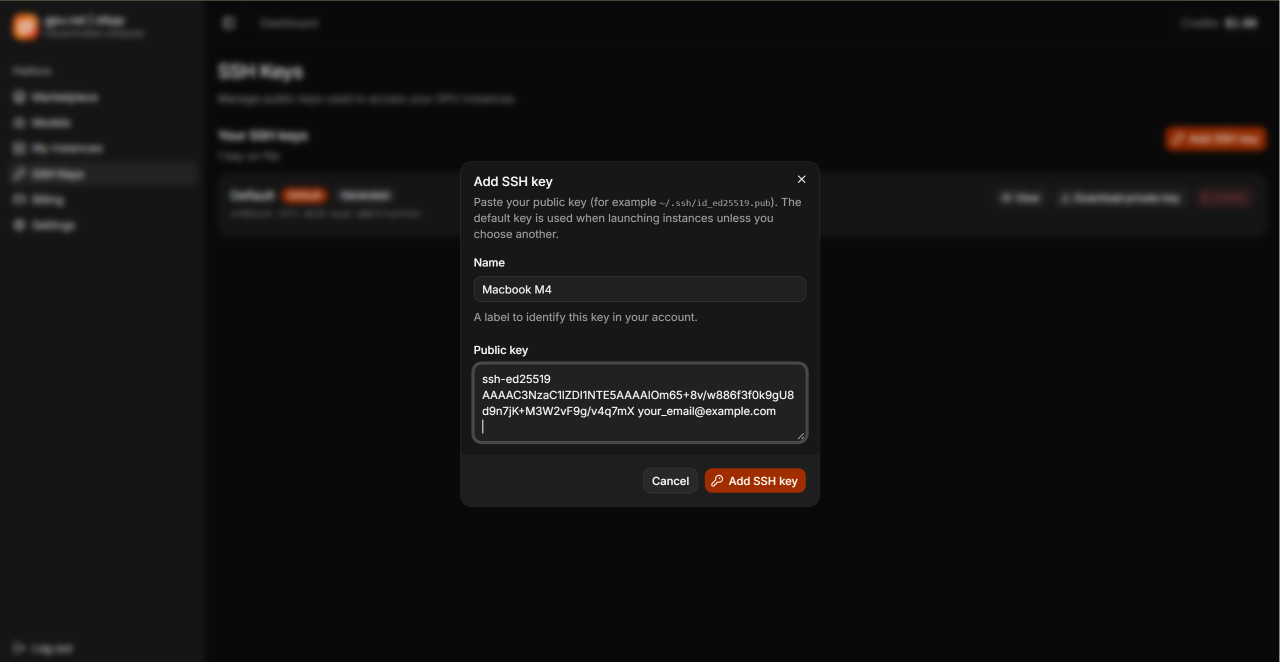
Enter a name to identify the key, paste your public key, then click Add SSH key.
Your public key is usually in ~/.ssh/id_ed25519.pub. To print it, run:
cat ~/.ssh/id_ed25519.pubIf you don't have a key yet, create one with ssh-keygen -t ed25519.
3. Check your key
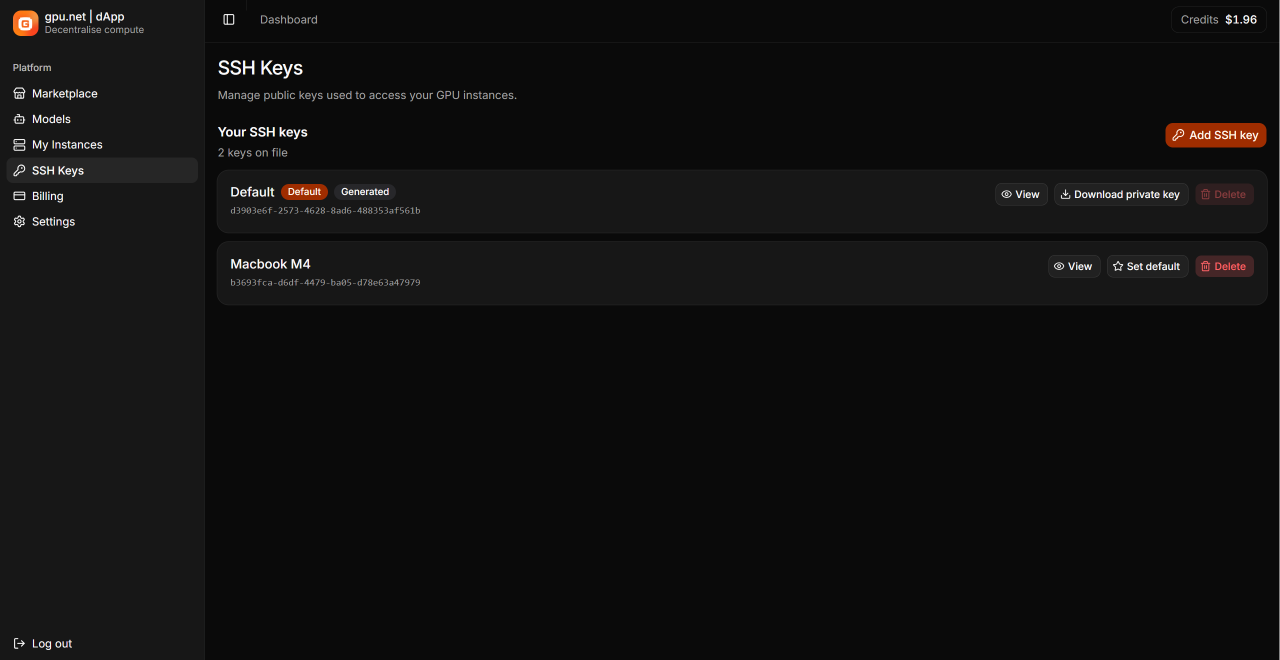
Your new key now appears under Your SSH keys. Click Set default to use it when launching instances.
4. Choose a key when launching an instance
On the Launch instance page, pick the key you want under SSH key, then click Launch instance. If you don't choose one, the default key is used.
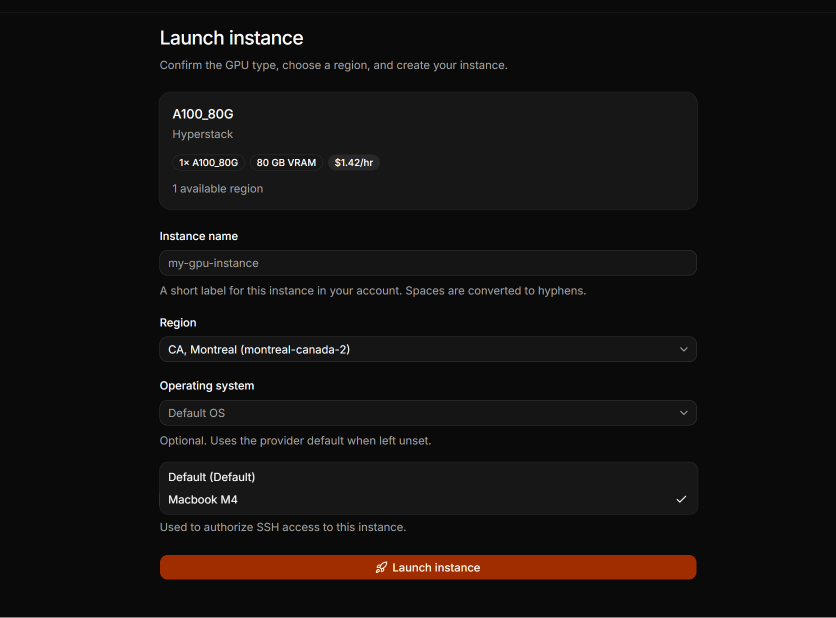
The public key is added to the instance, so you can access it with the matching private key.
Last updated on